Blackstone Grill Manual: A Comprehensive Guide
This manual provides essential guidance for Blackstone grill owners, covering setup, operation, maintenance, troubleshooting, and advanced techniques for optimal performance and enjoyment.
Blackstone Grills have rapidly become a favorite for outdoor cooking enthusiasts, offering a versatile flat-top surface ideal for everything from breakfast to dinner. These grills are renowned for their durability, ease of use, and ability to deliver restaurant-quality results in your backyard.
This guide will walk you through every aspect of owning a Blackstone, ensuring you maximize its potential. From understanding different models and safety precautions to mastering advanced cooking techniques, we’ll cover it all. Prepare to redefine your outdoor cooking experience!
Understanding Your Blackstone Model
Blackstone offers a diverse range of griddle models, varying in size, burner count, and features. Common models include 22”, 28”, 36”, and 48” griddles, as well as tabletop and portable options. Identifying your specific model is crucial for accessing the correct parts and following tailored instructions.
Refer to the model number located on the grill’s packaging or base. This guide provides general information, but always consult your model’s specific documentation for detailed specifications and safety guidelines. Knowing your grill ensures optimal performance.
Safety Precautions
Prioritize safety when operating your Blackstone grill. Always use the grill outdoors in a well-ventilated area, away from flammable materials. Never leave a lit grill unattended. Keep children and pets at a safe distance during operation and cool-down periods.
Inspect the propane hose for damage before each use. Ensure proper ventilation to prevent carbon monoxide buildup. Be cautious of hot surfaces and use appropriate tools to avoid burns. Following these precautions ensures a safe cooking experience.
General Safety Guidelines
Read this manual thoroughly before operating your Blackstone grill. Maintain a clear area around the grill, free from combustible items. Never modify the grill or use unauthorized parts. Wear appropriate clothing, avoiding loose garments. Always have a fire extinguisher nearby and know how to use it.
Do not operate the grill on uneven surfaces. Supervise children and pets closely. Allow the grill to cool completely before cleaning or storing. Following these guidelines minimizes risks and ensures safe operation.
Propane Tank Safety
Always inspect the propane tank for damage before use. Ensure the tank valve is tightly closed when not in use. Store propane tanks outdoors in a well-ventilated area, away from heat sources and direct sunlight. Never attempt to repair or modify the tank yourself.
Regularly check connections for leaks using a soapy water solution. If a leak is detected, immediately shut off the propane supply. Follow all local regulations regarding propane tank storage and handling for maximum safety.
Setting Up Your Blackstone Grill
Proper setup is crucial for safe and efficient grilling. Begin by selecting a level, non-combustible surface outdoors, away from flammable materials. Carefully unpack your Blackstone grill and inspect all components for any shipping damage. Ensure all burners and the igniter are correctly positioned.
Before connecting the propane tank, verify all valves are closed. Follow the instructions for connecting the regulator to the tank, ensuring a secure and leak-proof connection.
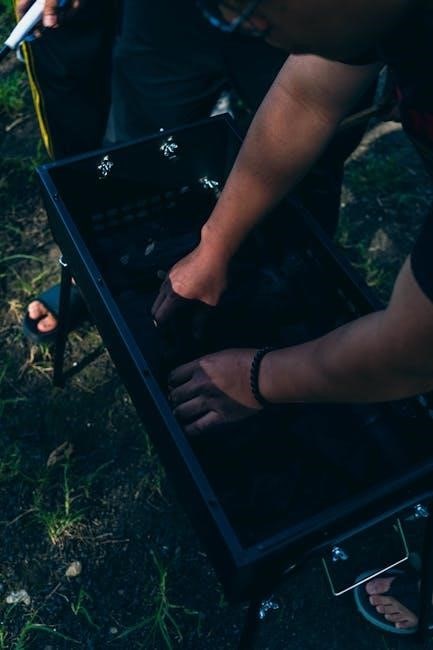
Connecting the Propane Tank
Always connect the propane tank in a well-ventilated area, away from open flames or ignition sources. Screw the regulator firmly onto the propane tank valve, hand-tightening initially, then using a wrench for a secure fit. Never use a wrench on the regulator itself, only the connection nut.
After connecting, perform a leak test by applying soapy water to the connection. Bubbles indicate a leak; tighten further if necessary. Ensure the tank valve is fully open before attempting to ignite the grill.
Initial Burn-Off Procedure
Before your first cook, a burn-off is crucial. Open the grill lid and turn all burners to high for 15-20 minutes. This process eliminates manufacturing residues and protective coatings from the griddle surface. Expect some smoke and odor during this initial burn-off – ensure adequate ventilation.
After the burn-off, allow the griddle to cool completely before seasoning. This prepares the surface for optimal non-stick cooking and rust prevention, ensuring a long-lasting, high-performance cooking experience.
Operating Your Blackstone Grill
Proper operation ensures safe and efficient cooking. Always ignite burners following the specified procedure, ensuring a steady flame before adjusting temperatures. Monitor heat levels carefully using the control knobs, achieving desired cooking zones for various foods.
Never leave a lit grill unattended. Familiarize yourself with the grill’s features and limitations for optimal performance. Consistent monitoring and careful adjustments are key to successful griddle mastery.
Igniting the Burners
To ignite, slowly open the propane tank valve. Then, turn one burner control knob to the “High” position and immediately press the igniter button. Repeat for each burner, ensuring a visible flame before releasing the knob. If ignition fails, turn off the gas and wait five minutes before attempting again.
Always observe the flame pattern; a weak or yellow flame indicates a potential issue. Never lean over the grill during ignition, and keep flammable materials clear.
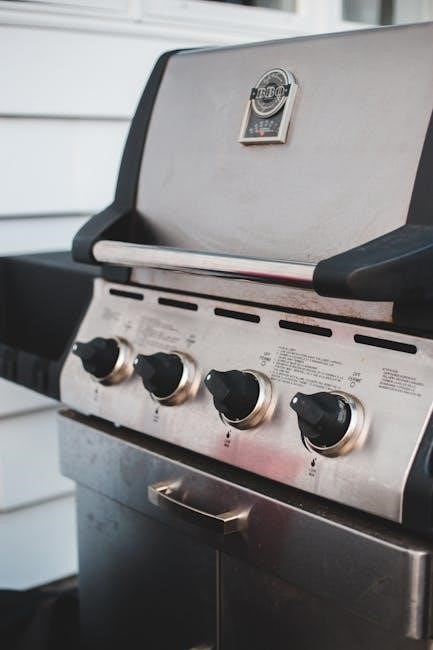
Adjusting Burner Temperatures
Precise temperature control is key to successful griddling. Rotate the burner control knobs to adjust heat levels – “Low” for delicate foods like pancakes, “Medium” for eggs and bacon, and “High” for searing steaks. Experiment to find the ideal setting for each recipe.
Utilize different zones on the griddle; keep one side hotter for searing while using a cooler zone for warming. Monitor cooking progress closely and adjust accordingly.
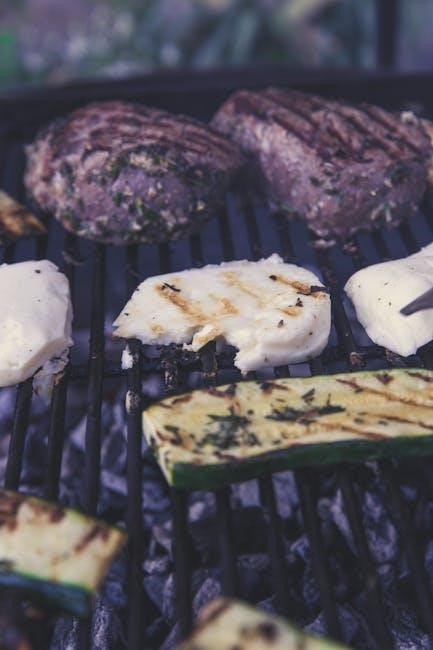
Cooking on Your Blackstone Grill
Before your first cook, proper seasoning is crucial. Apply a thin, even coat of cooking oil to the entire griddle surface and heat on high for 15-20 minutes. This creates a natural, non-stick patina. Regular seasoning maintains this protective layer.
Experiment with various foods! From breakfast staples to full meals, the Blackstone’s versatility shines. Remember to preheat adequately and utilize temperature zones for optimal results.
Seasoning the Griddle Surface
Seasoning creates a natural, non-stick surface and protects against rust. Begin with a thoroughly cleaned griddle. Apply a very thin, even coat of high smoke-point oil – flaxseed, avocado, or canola are excellent choices. Heat the griddle on high for 15-20 minutes, allowing the oil to polymerize.
Repeat this process 3-5 times for a robust seasoning. A well-seasoned griddle will darken and become increasingly non-stick with each use. Regular cooking also contributes to maintaining the seasoning.
Recommended Cooking Oils
Choosing the right oil is crucial for flavor and performance. High smoke-point oils are essential for Blackstone griddles, preventing burning and off-flavors. Avocado oil is a top choice, boasting a high smoke point and neutral taste. Canola and refined coconut oil are also excellent options.
Flaxseed oil is ideal for initial seasoning, while sunflower and vegetable oils can be used for everyday cooking. Avoid olive oil due to its lower smoke point.

Cleaning and Maintenance
Regular cleaning extends your Blackstone grill’s life and ensures optimal cooking performance. Consistent maintenance prevents rust, corrosion, and food buildup; Daily cleaning involves scraping the griddle surface after each use while it’s still warm, then applying a thin coat of oil.
Periodic deep cleaning requires removing the griddle surface and thoroughly washing it with warm, soapy water. Inspect burners for clogs and clean as needed.
Daily Cleaning Procedures
After each use, while the griddle is still warm, scrape away food residue with a metal scraper. This prevents stubborn buildup. Next, pour a small amount of water onto the hot surface – it will steam clean, loosening remaining particles.
Scrape again, then wipe clean with a paper towel. Finally, apply a very thin coat of high-heat cooking oil to season and protect the griddle surface from rust.
Deep Cleaning Instructions
For a thorough clean, after scraping, pour warm, soapy water onto the cooled griddle surface. Use a non-abrasive scrub brush or sponge to remove any remaining grease or food particles.
Rinse thoroughly with clean water, ensuring no soap residue remains. Dry completely with a clean cloth. Re-season the griddle with a thin layer of high-heat cooking oil to prevent rust and maintain a non-stick surface for optimal cooking performance.
Troubleshooting Common Issues
If your burner fails to ignite, first check the propane tank level and connection. Ensure the igniter is clean and dry, and the burner ports are clear of debris. For uneven heating, verify burners are receiving equal gas flow and that there are no obstructions blocking the flame.
Consistent issues may require professional servicing; do not attempt repairs beyond your expertise to avoid potential hazards.
Burner Ignition Problems
Difficulty igniting burners often stems from low propane levels or a faulty connection; Inspect the tank valve for proper opening and the hose for kinks or damage. A weak spark from the igniter, due to moisture or a failing battery, can also prevent ignition.
Clean the igniter tip and ensure it’s dry. If problems persist, manually light the burner with a long lighter for testing purposes.
Uneven Heating Issues
Uneven heat distribution can result from blocked burners or inconsistent propane flow. Inspect each burner for debris or rust obstructing the gas ports. Ensure burners are properly aligned and receiving equal gas pressure.
Wind can also cause temperature fluctuations; use a wind guard. If issues continue, a regulator malfunction might be the cause, requiring professional inspection and potential replacement.
Griddle Surface Care
Maintaining your Blackstone griddle surface is crucial for longevity and performance. Regular seasoning creates a natural non-stick layer, preventing rust and ensuring optimal cooking. After each use, scrape off food residue while the griddle is still warm.
Apply a thin coat of high-smoke-point oil to protect the surface; Promptly address any rust spots with steel wool and re-seasoning to preserve the griddle’s integrity.
Preventing Rust and Corrosion
Rust is the enemy of a long-lasting griddle! Consistent seasoning is your primary defense, creating a protective barrier. Always ensure the griddle is thoroughly dried after cleaning to eliminate moisture.
Regularly apply a thin coat of high-heat cooking oil, even during storage, to prevent corrosion. Avoid harsh cleaning agents that can strip the seasoning. Address any rust spots immediately with steel wool and re-seasoning to maintain surface integrity.
Removing Stubborn Food Residue
Tackling stuck-on food requires patience and the right tools! Begin by pouring a small amount of water onto the warm griddle surface and scraping with a metal spatula or scraper.
For particularly stubborn bits, create a paste of baking soda and water, let it sit for a few minutes, then scrub gently. Avoid abrasive cleaners that can damage the seasoning. A dedicated griddle cleaning tool will significantly ease the process and preserve the surface.
Accessories and Add-ons
Enhance your Blackstone grilling experience with a range of useful accessories! Consider a fitted griddle cover to protect from the elements and a carrying case for portability.
Essential tool kits include spatulas, scrapers, and squeeze bottles. Griddle presses are ideal for smashing burgers and achieving even cooking. Explore options like smoker boxes for adding smoky flavor to your meals, expanding your culinary possibilities.
Griddle Covers and Carrying Cases
Protect your investment with a durable Blackstone griddle cover! These covers shield against rain, dust, and debris, extending the life of your griddle surface and components.
For those who enjoy grilling on the go, a carrying case offers convenient portability. Look for cases with reinforced handles and durable materials. Proper storage, utilizing these accessories, ensures your Blackstone is always ready for your next cookout, safeguarding against potential damage.
Tool Kits and Scrapers
Essential for maintaining a clean and efficient griddle, Blackstone tool kits typically include spatulas, scrapers, and cleaning brushes. High-quality scrapers are crucial for removing stubborn food residue after each use, preventing buildup and ensuring even cooking.
Investing in a dedicated tool kit simplifies cleanup and protects the griddle surface. Look for tools made from heat-resistant materials. Regular use of these tools will prolong the life and performance of your Blackstone grill.
Temperature Control and Monitoring
Achieving consistent cooking results relies on precise temperature management. Utilizing a griddle thermometer is highly recommended for accurate readings, especially across different burner zones. Adjust burner settings based on desired heat levels and food type.
External weather conditions significantly impact griddle temperature; wind and ambient air temperature require adjustments to maintain stability. Regularly monitor and fine-tune the burners to ensure optimal cooking performance throughout your grilling session.
Using a Griddle Thermometer
A griddle thermometer is crucial for accurate temperature readings, ensuring food is cooked safely and to your preference. Place the thermometer centrally on the griddle surface, avoiding direct contact with burners. Allow sufficient time for a stable reading before making adjustments.
Regularly check temperatures in various zones, as heat distribution may vary. Compare readings with recommended cooking temperatures for different foods. This practice promotes consistent results and prevents undercooked or overcooked dishes.
Adjusting for Different Weather Conditions
Wind significantly impacts griddle temperature; shield the grill or use lower burner settings on breezy days to maintain consistent heat. Cold weather requires higher settings to compensate for heat loss, potentially extending preheating time.
Humidity can affect cooking times, potentially requiring adjustments to burner levels. Monitor food closely and use a griddle thermometer to ensure proper internal temperatures are reached, adapting as needed for optimal results.
Propane Tank Management
Regularly check propane levels before each use, utilizing a tank gauge or the hot water test for accurate readings. Store propane tanks upright in a well-ventilated, shaded area, away from heat sources and direct sunlight to prevent pressure build-up.
Always disconnect the tank after grilling and securely cap the valve. Never store a connected tank indoors or in enclosed spaces, prioritizing safety and adhering to local regulations for proper propane handling.
Checking Propane Levels
Accurately assess propane levels before each cookout using a dedicated tank gauge – a simple and reliable method. Alternatively, pour warm water down the side of the tank; the cool area indicates the fill level. Always exercise caution when handling propane.
Low levels can cause inconsistent heating, so proactively refill or swap tanks. Regularly monitoring ensures uninterrupted grilling sessions and prevents unexpected fuel shortages during cooking, maximizing your Blackstone experience.
Proper Propane Tank Storage
Store propane tanks outdoors in a well-ventilated area, away from heat sources, direct sunlight, and ignition points. Keep tanks upright to prevent valve leakage and ensure safe operation. Securely fasten tanks to prevent accidental tipping or rolling.
Never store propane tanks indoors, in garages, or near living spaces. Follow local regulations regarding propane storage. Regular inspection for leaks or damage is crucial for maintaining safety and preventing potential hazards.
Advanced Cooking Techniques
Elevate your Blackstone cooking with a smoker box, adding wood chips for delicious smoky flavors to meats and vegetables. Utilize a griddle press to achieve perfect searing and even cooking, especially for burgers and sandwiches.
Experiment with temperature zones – high heat for searing, lower heat for simmering. Mastering these techniques unlocks a wider range of culinary possibilities, transforming your griddle into a versatile outdoor kitchen.
Smoker Box Usage
Enhance your dishes by incorporating a smoker box onto your Blackstone griddle. Fill it with your preferred wood chips – hickory, mesquite, or applewood – for distinct smoky flavors. Position the smoker box directly over a burner, ensuring consistent smoldering.
Monitor the smoke output and adjust burner heat accordingly. Soaking wood chips beforehand intensifies the smoke. Remember to clean the smoker box after each use to prevent residue buildup and maintain optimal performance.
Using a Griddle Press
A griddle press is invaluable for achieving even cooking and beautiful sear marks on foods like burgers, chicken, and steaks. Apply firm, consistent pressure to maximize contact between the food and the hot griddle surface.
This ensures faster cooking times and locks in juices for a more flavorful result. Regularly clean your griddle press to remove any accumulated grease or food particles, maintaining its effectiveness and hygiene.
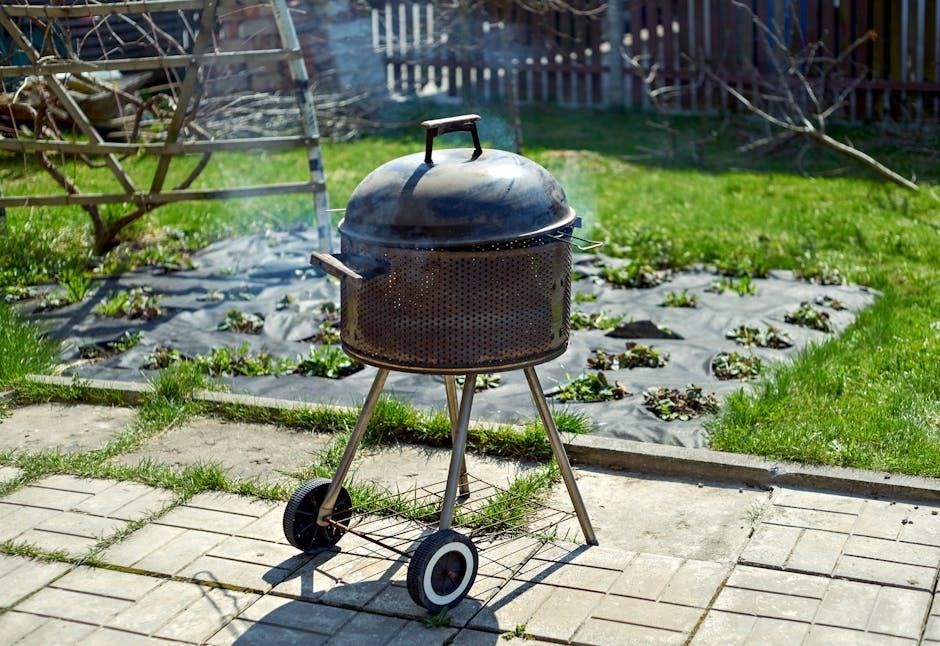
Winterizing Your Blackstone Grill
Protecting your Blackstone grill during winter is crucial to prevent damage from freezing temperatures and corrosion. Thoroughly clean the griddle surface, removing all food residue and grease. Disconnect the propane tank and store it safely, away from direct sunlight and heat sources.
Cover the grill with a fitted cover to shield it from snow, rain, and debris. Consider storing it indoors, like a garage or shed, for extended protection during harsh winter months.
Protecting from Freezing Temperatures
Freezing temperatures pose a significant risk to your Blackstone grill, potentially causing damage to burners, hoses, and the griddle surface. Before a freeze, ensure the grill is completely clean and dry. Disconnect and store the propane tank indoors, preventing fuel line freezing.
If storing outdoors, a high-quality grill cover is essential, but consider bringing it inside if prolonged sub-freezing conditions are expected. This prevents ice buildup and potential cracking.
Long-Term Storage Procedures
Preparing your Blackstone grill for extended storage requires thoroughness. After a final cleaning and burn-off, lightly coat the griddle surface with cooking oil to prevent rust. Disconnect the propane tank and store it separately in a well-ventilated area, following all safety guidelines.
Cover the grill securely with a fitted cover, and store it in a dry location like a garage or shed. Inspect hoses for cracks before storage, replacing if necessary.
Warranty Information
Blackstone Products offers a warranty against manufacturing defects on its grills. The standard warranty period typically covers one year from the original purchase date for the grill body and components. Specific parts, like burners, may have shorter warranty durations.
To make a warranty claim, retain your proof of purchase and contact Blackstone customer support. Warranty does not cover damage from misuse, accidents, or normal wear and tear.
Resources and Support
Blackstone provides extensive resources to assist grill owners. Their official website features a comprehensive FAQ section, detailed how-to videos, and downloadable manuals for all models. Customer support is readily available via phone and email to address specific questions or concerns.
Online communities and forums dedicated to Blackstone grills offer valuable tips, recipes, and troubleshooting advice from fellow enthusiasts. Social media channels also provide updates and support.